Create a Dataset with a DAT Connector
This procedure describes how to add a dataset with a DAT connector.
Note
Before adding a dataset with a DAT connector, the DAT files must be added to a new or existing folder in the Builds folder on the Analytics (Build) server root directory, and the DAT connector must exist in the Connectors pane (see Create and Manage a Connector).
We recommend limiting your DAT file to no more than 3GB to 4GB in size and using external text paths for larger document populations or very large documents. This will provide a more efficient DAT format for ingest and quickly identify any overly large documents that may need to be filtered or excluded prior to loading.
To add a dataset with a DAT connector:
In the user drop-down menu, click Administration:
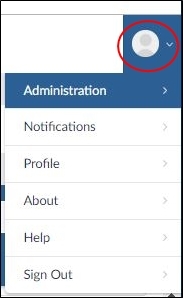
The Datasets page will open.
In the Datasets screen, click the Add Dataset button:
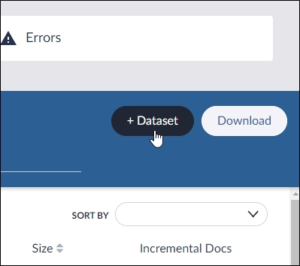
The New Dataset dialog will open.
In the New Dataset dialog, type a Dataset Name, and then toggle switches in the Dataset Groups pane to add the new dataset to one or more groups:
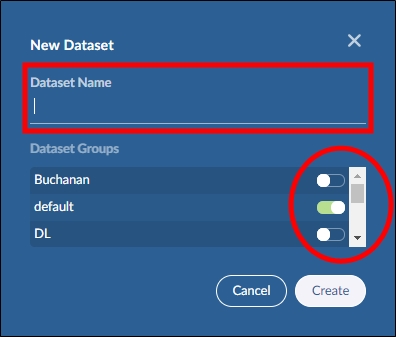
Click the Create button.
The Dataset Settings dialog will open.
Click the Choose Connector button:

The Choose Connector dialog will open.
In the Choose Connector dialog, click the appropriate DAT connector in the list.
The Select a Source dialog will open.
In the Select a Source dialog, click the folder that contains the DAT documents, and then click the Save and Proceed button.
The DAT Source dialog will open.
In the DAT Source dialog, click the Browse button.
The Select File for Path to DAT File dialog will open.
Select a file, and then click the Select File button.
The DAT Source dialog will refresh.
Click the Proceed button.
The License Checks dialog will open and run a check on your license document limits.
After Brainspace verifies the license document limits, click the Proceed button.
The Field Mapping dialog will open.
Map the required fields and any additional fields, and then click the Continue button.
The Dataset Settings dialog will refresh.
Note
For information about mapping fields, see Field Mapping Categories and Definitions.
Verify the settings, click the Save button, and then click the Build button.
The Dataset Build Options dialog will open.
Choose a build option, and then click the Run This Build Type button.
The Schedule Build dialog will open.
Click the Build as soon as possible button.
Note
If you choose to build the dataset in the future, click the Schedule Build Time field, select a date and time, and then click the Save button.
The Datasets page will refresh and show the Dataset Queue build in progress:
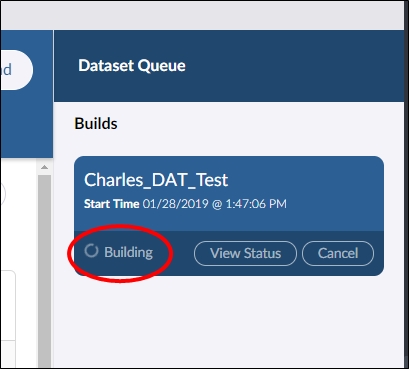
While the build is in progress, you can click the View Status button to view the build steps in progress. For information on each step in the build process, see Build Steps.
After the build completes successfully, the new dataset will move from the Dataset Queue to the list of active datasets in the Datasets page, and you are ready to create work products with it.